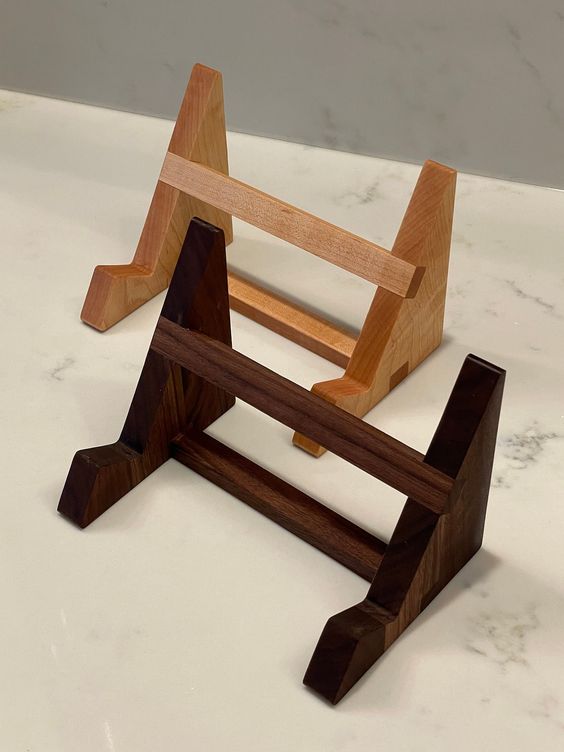
Introduction:
Welcome, music enthusiasts and keyboard maestros! If you’ve just acquired a new keyboard stand and can’t wait to elevate your playing experience, you’re in the right place. In this comprehensive guide, we’ll walk you through the steps of installing your keyboard stand, ensuring a sturdy and customized setup for your musical journey.
1. Unboxing and Initial Inspection:
- Unbox your new keyboard stand and lay out all the components.
- Check for any visible damage or missing parts.
- Familiarize yourself with the stand’s components, such as legs, braces, and adjustment mechanisms.
2. Understanding Height and Width Adjustments:
- Identify the height and width adjustment points on your keyboard stand.
- Ensure that any locking mechanisms or screws are visible and accessible.
- Familiarize yourself with how the adjustment mechanisms work, whether they are knobs, levers, or screws.
3. Setting Up the Legs:
- Extend the legs of your keyboard stand and ensure they are fully locked into place.
- For X-style stands, make sure the legs are symmetrically positioned.
- If you have a Z-style stand, unfold the legs and engage any locking mechanisms.
4. Adjusting the Height:
- Determine the ideal playing height for your keyboard.
- Adjust the height settings based on your preference. Some stands have preset height positions, while others offer continuous adjustment.
- Lock the height in place securely.
5. Configuring the Width:
- If your keyboard stand has adjustable width, set it according to the size of your keyboard.
- Double-check that any width adjustment mechanisms are locked in place.
6. Attaching Accessories (Optional):
- Some keyboard stands may come with additional accessories like microphone stands or sheet music holders. Attach these as needed.
7. Testing Stability:
- Gently shake the stand to ensure stability.
- If you have a two-tier stand, test the stability of both tiers.
- Confirm that all locking mechanisms are secure.
8. Placing Your Keyboard:
- Carefully place your keyboard on the stand, ensuring it is centered and balanced.
- If you have a tabletop stand, use the provided clamps to secure it to your desk.
9. Final Adjustments:
- Sit at your keyboard and make any final adjustments to height or angle for optimal playing comfort.
Conclusion:
Congratulations! You’ve successfully installed your keyboard stand and are now ready to embark on a musical journey with a setup tailored to your preferences. Remember, a well-installed stand not only enhances your playing experience but also ensures the safety and stability of your musical gear.
Pro Tip:
Keep the user manual handy for reference, and don’t hesitate to revisit these steps if you ever need to disassemble or readjust your keyboard stand.
Happy playing!

